Introduction
You may already be familiar with using Padlet for teaching purposes. Many people think of it primarily as a kind of digital pinboard. But did you know that there are several advanced layouts that can help you facilitate more engaging classes? This article includes brief descriptions, suggested activities and links to examples for each kind of template.
Layouts
Wall
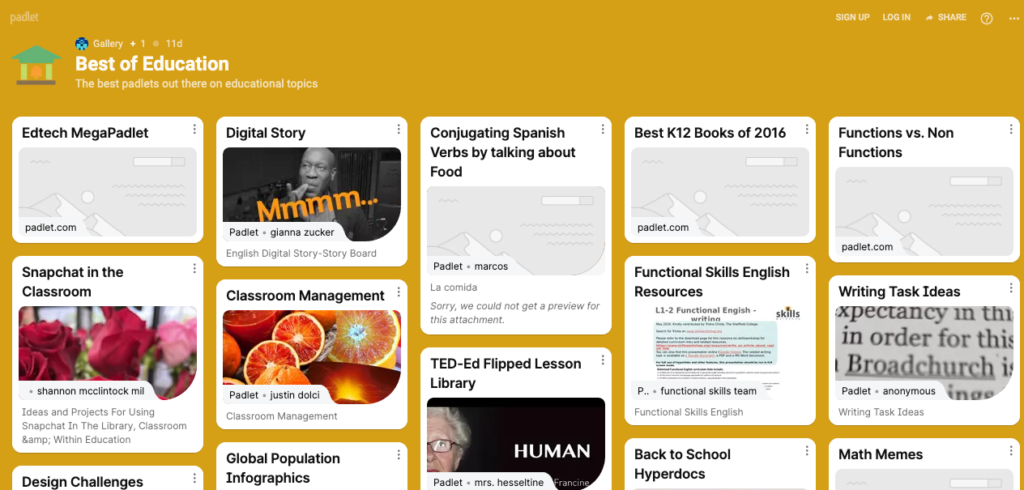
This original Padlet layout is what most people think of when they hear the word ‘Padlet’. It’s a free-for-all space where people’s posts appear as different sized bricks. If you want to have a single place where students can post presentations or the output of project work, this is a great layout to use. It also works well with activities that have a significant visual element, like curating a resource bank, mood board or a gallery of photos.
The main drawback of the Wall layout is that it can get quite messy when you have lots of students or an activity that requires multiple posts from each person. If you want a bit more structure, another layout would be more suitable.
Grid
The Grid layout also arranges posts as bricks, but it keeps them aligned in rows. As such, it’s useful for many of the same activities as the Wall template, but it has a more ordered feel.
Shelf
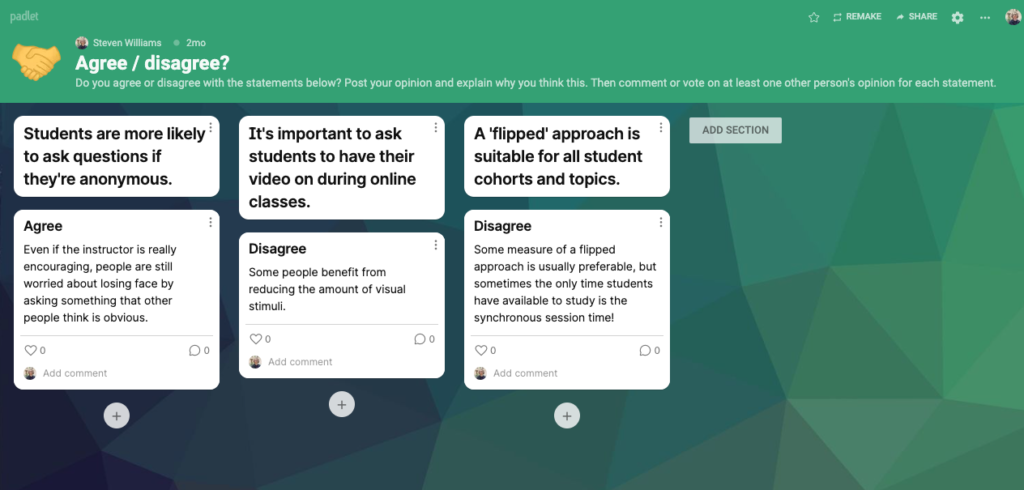
This layout allows you to organize posts under several headings, such as different topics or questions. You can ask a large class to brainstorm ideas or respond to prompts, and the headings will keep everything organized and easy to navigate.
The Shelf layout can also be used for SWOT analysis, a KANBAN board, KWL charts, or even to facilitate groupwork: name each column after a different group / breakout room and ask one student in each group to post a summary of their group discussions.
Map
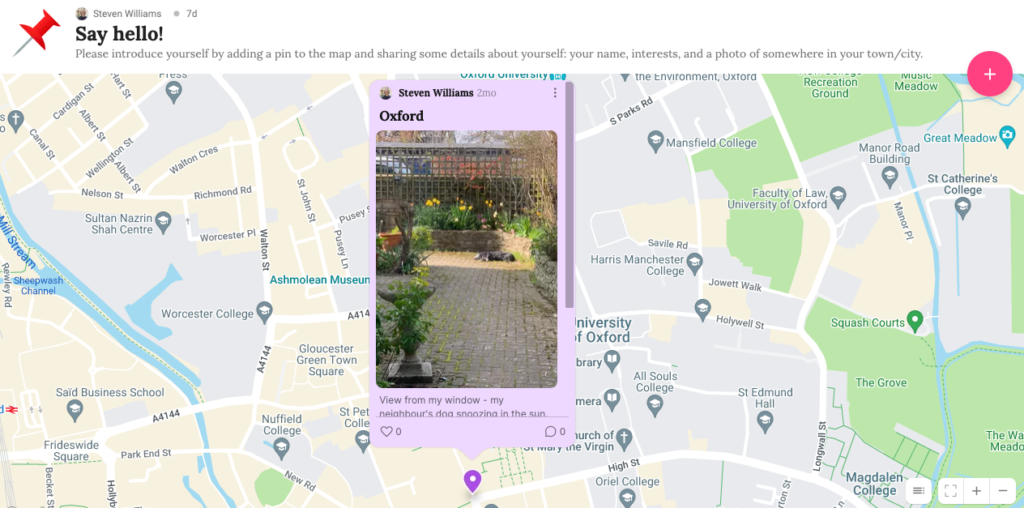
The map layout is a fantastic way to help students to get to know each other at the start of a course. It works especially well if your students are from different places. They can drop a pin on a location in any country and add a post with text and media. As in the example, you could instruct them to add a pin to their hometown with a photo. Why not practise by adding a pin to the example map yourself?
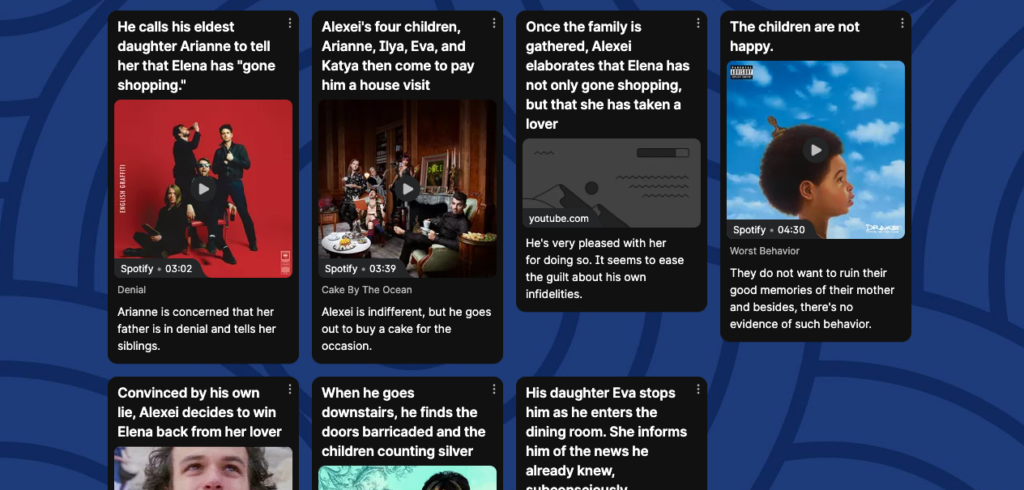
Stream
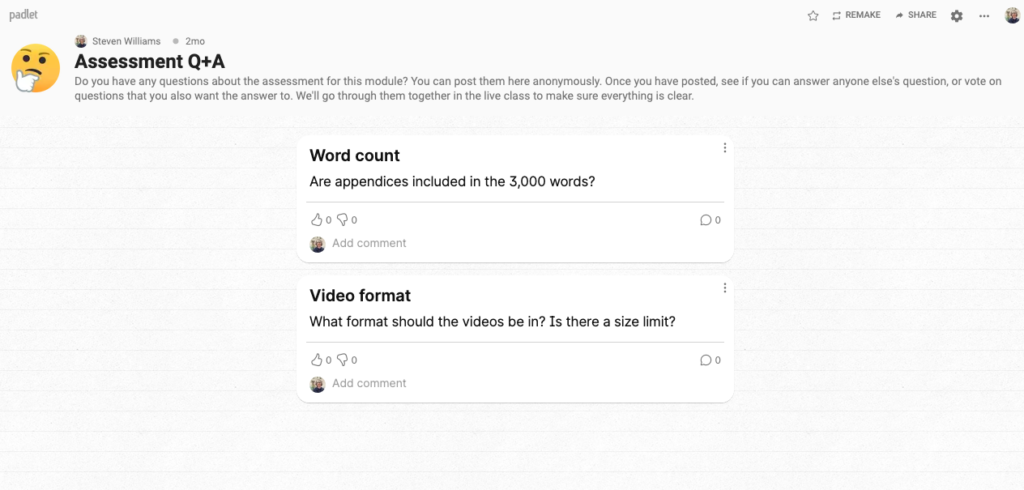
The Stream layout places everyone’s posts in a single column. If you don’t like Padlet because it’s ‘too cluttered’, this might be the layout for you! It’s great if you need posts to be easy to navigate and organised in chronological order. You could use it for a Q&A, for instance about assessment as in the example below. Students will be able to see other people’s questions and your responses, which should avoid you having to answer the same thing several times. You could also encourage peer-to-peer learning by asking students to answer any questions that they know the answer to.
Canvas

This is the most flexible layout and as such it’s useful for mind maps, flow charts and basic infographics. Students can drag their posts wherever they want, then make connecting lines between different posts (click on the three dots on the top right of a post, then ‘Connect to a post’). These lines can be labelled to clarify the connections between different ideas.
Timeline
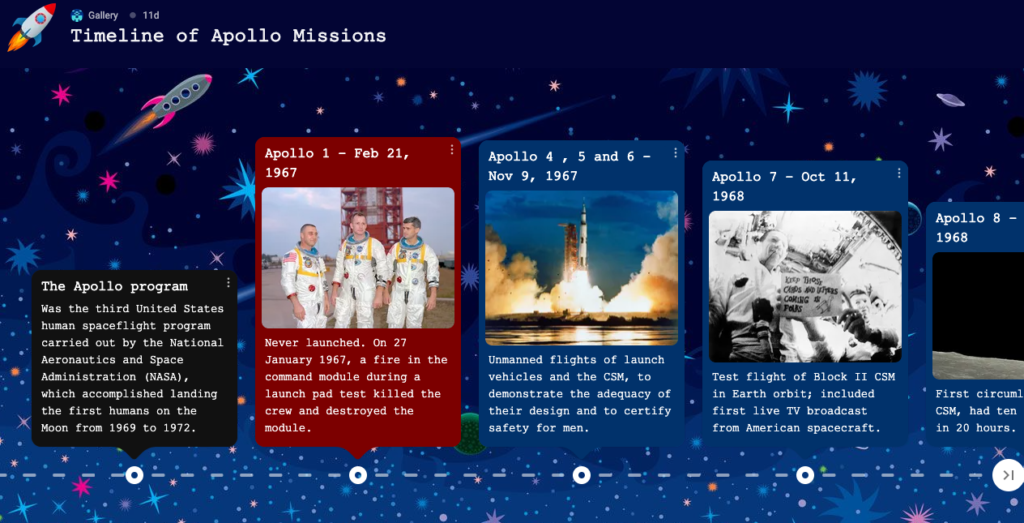
This layout allows you to post above and below a dotted horizontal line. As its name suggests, its most obvious use is for activities that include dates, for example describing significant events in a historical period. You could use it as an icebreaker by asking students to post three important dates in their lives with a photo and a short explanation.
The timeline layout is also perfect for activities where students have to describe stages in a process, such as the development of a product or the lifecycle of an animal.
Conclusion
Now that you’ve learned about different Padlet layout options, why don’t you try some of the ideas in this article for yourself? You don’t have to master each layout straight away – start by choosing one or two and think of different ways you can incorporate them into your teaching.
For general information about Padlet and how to access it using your university credentials, see the introduction to Padlet article. For further inspiration, check out Creating a Live Question Bank with Padlet and Padlet’s own curated gallery.