Transcriptions are big boost for accessibility as they allow your learners to have access to a texted-based version of the speech in your meeting recording.
Get the most out of your captions
Automatically generated captions are rarely 100% accurate, but you can take some steps to get them as accurate as possible. The following is some guidance from the MS Teams support documentation on getting the most out of the captions feature:
To make sure your live captions are as accurate as possible, try to follow these best practices:
- Speak clearly, slowly, and directly into the mic. As your distance from the mic increases, captions may become less accurate.
- Avoid locations with background noise.
- Avoid having multiple people speak at the same time.
- Use the highest-quality Teams-certified equipment available to you.
Notes:
- If someone is speaking with an accent, captions may be less accurate.
- Obscenities will be starred out.
“With Azure Cognitive Services, we’re able to get transcription accuracy of 90 percent or better.” – customer quote published by Microsoft.
Start your Teams recording
click on three dots menu, record and transcribe, start recording.
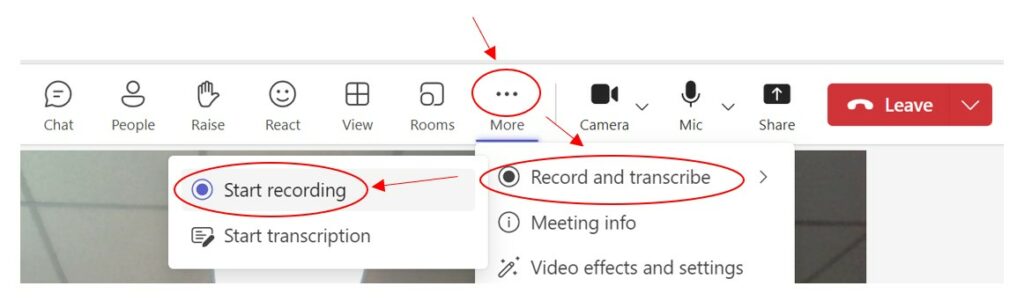
Transcription will start to the right of the screen
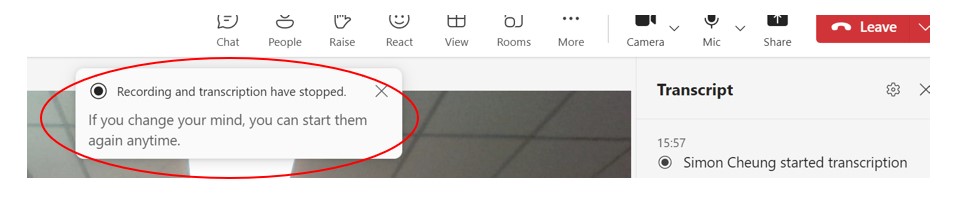
You can stop recording at any point
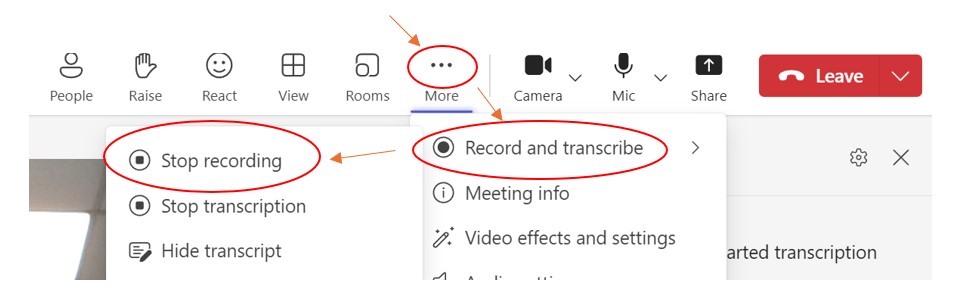
And also start them up again at any point
To find your recording
you can click in the meeting chat, see details
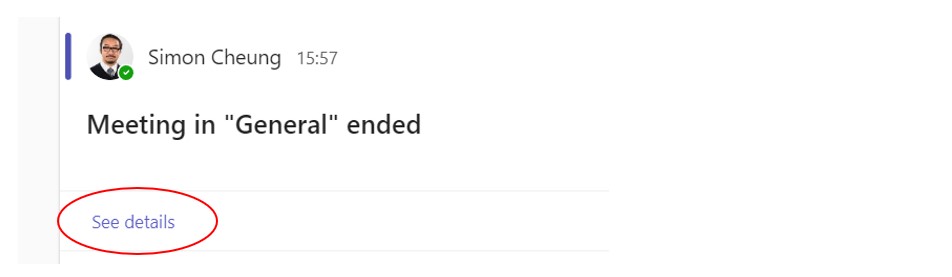
Which will reveal the transcript and recording links
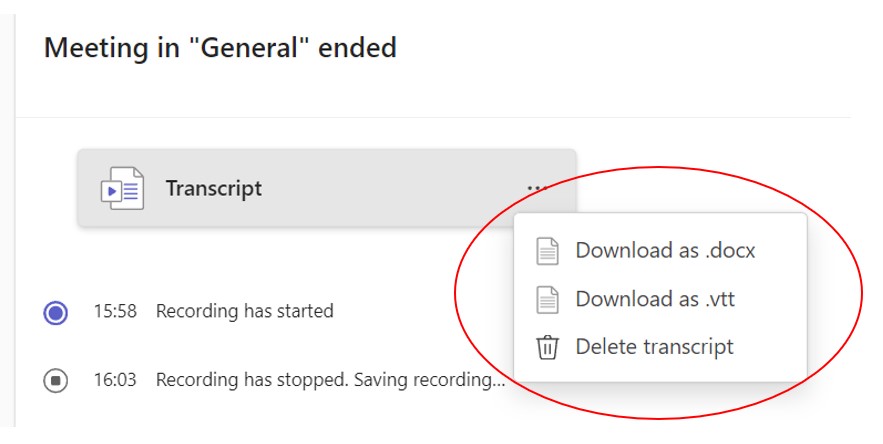
clicking on the three dots ‘more’ menu will give transcript download options
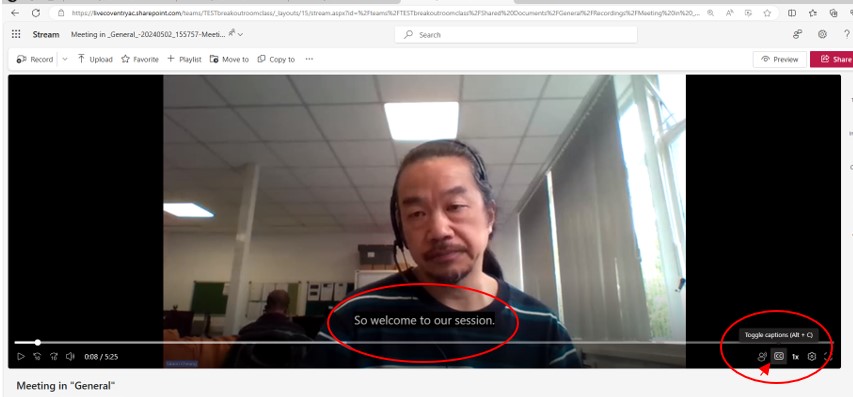
Clicking and viewing the recording in stream will show transcript on the right
Or the recording can be viewed with the closed caption (cc) option turned on
Recommended information (correcting errors)
Editing the automatically generated captions of your Teams recordings in Microsoft Stream